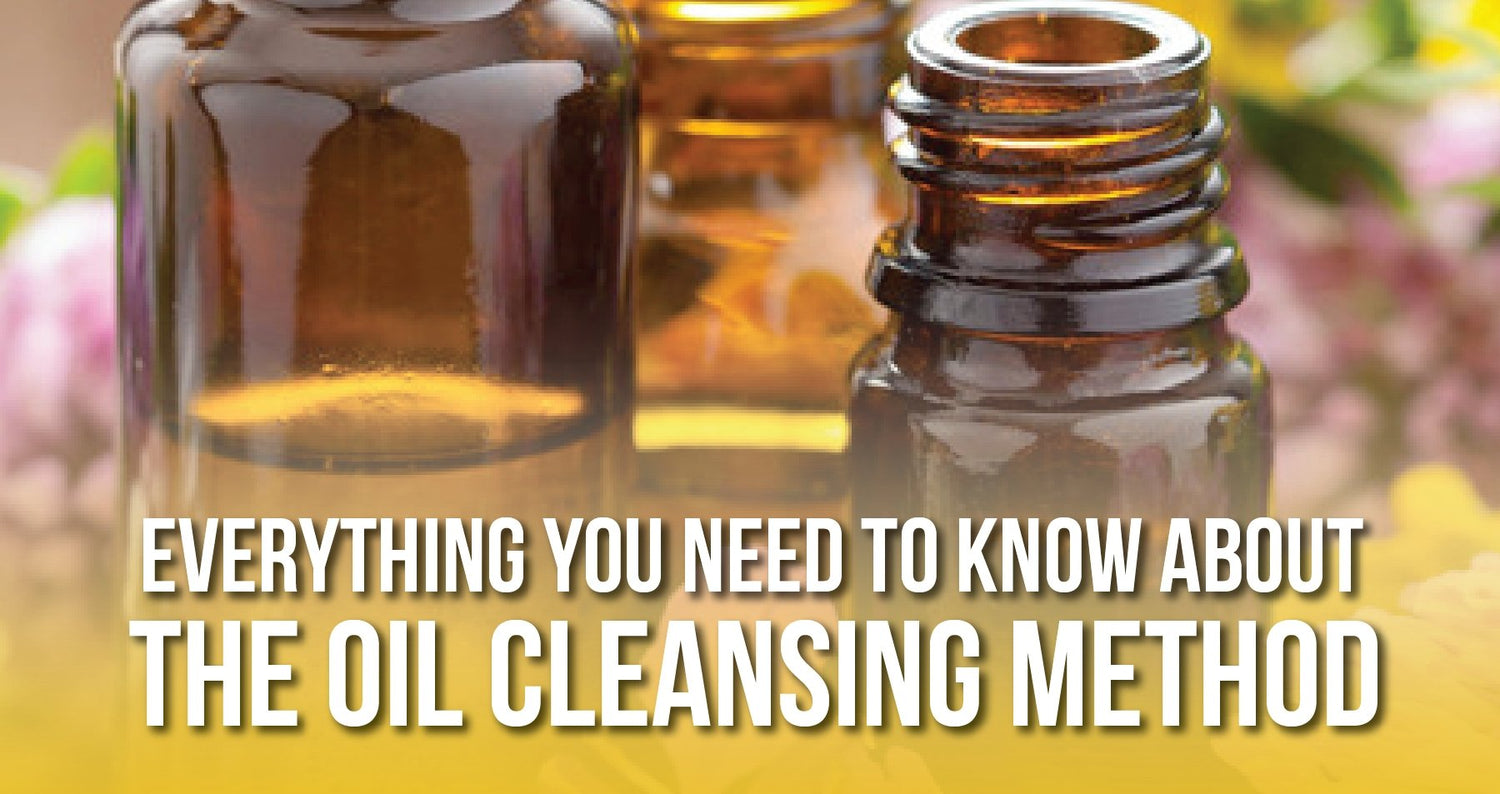
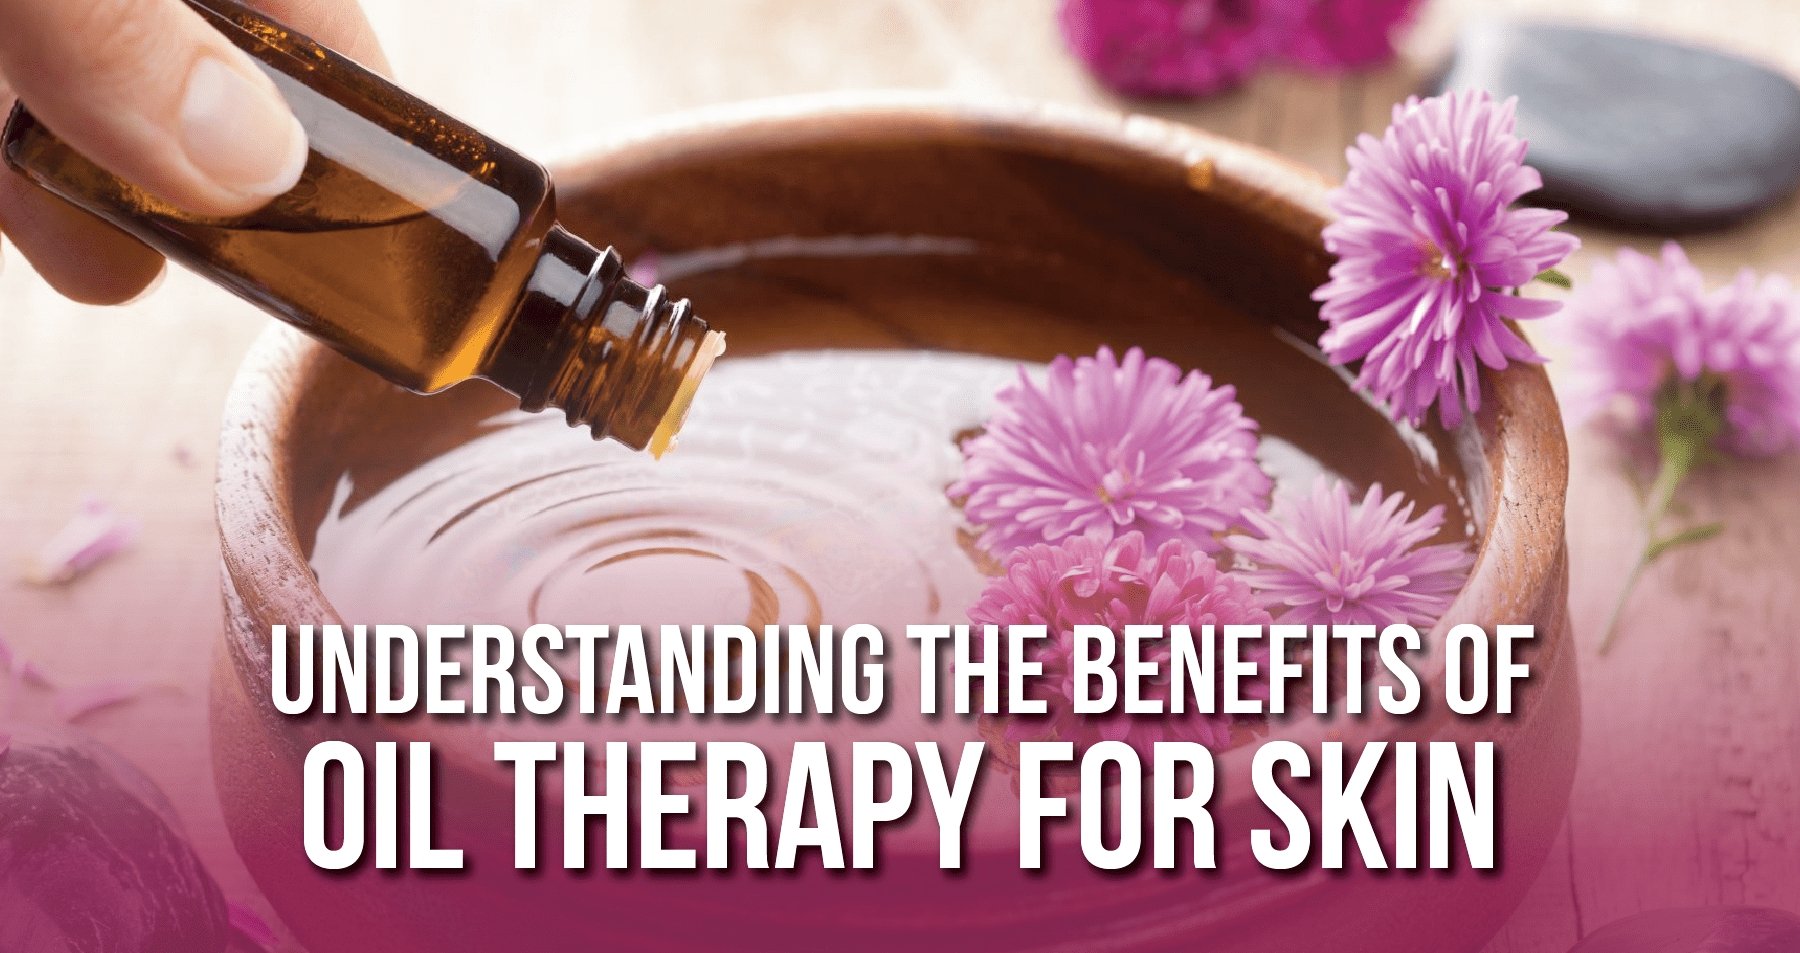
Everything You Need to Know About the Oil Cleansing Method
Boost your daily skincare routine with this step-by-step guide
The oil cleansing method is an ancient practice that was used by Aboriginal Australians, Egyptians, Greeks, Romans, and Indians for centuries. Its lasting popularity stems from its effectiveness. Oil cleansing has been proven to moisturize and nourish skin, treat and reduce acne, remove deep-rooted impurities, and protect against sun damage, among many other benefits. A recent article from SELF magazine suggested that oil cleansers are more hydrating, soothing, and all-around effective than traditional cleansers. In short, the oil cleansing method should be a mandatory part of your skincare routine. But how do you do it?

How to use the oil cleansing method
Using the oil cleansing method is quite simple. Several popular DIY skincare blogs, like Crunchy Betty, have suggested easy ways to make your own cleanser and create your own process. However, for those who aren’t DIY-savvy, we suggest selecting a rejuvenating oil cleanser, like iHeart Nature’s Lavender Face Cleansing Oil, and sticking to the following guidelines.

The oil cleansing method: step-by-step
- Grab your oil cleanser and a fresh washcloth. Make sure you’re near a sink, so you can access warm running water as needed.
- Pour a quarter-sized amount of oil into the palm of your hand. Rub both hands together to warm the oil. Then, smooth it over the entire surface of your face.
- Next, slowly and firmly massage the oil into your skin. [A few notes: Don’t rush—you want to ensure the oil is massaged into every visible inch of your skin. Spend extra time on any problem areas where you’re experiencing blackheads or breakouts. Also, don’t use a makeup remover before or after using the oil. It’s strong enough to remove any impurities, including makeup.]
- Think of this as a peaceful, stress-free time. Make sure you’ve blocked out enough time to cleanse thoroughly, and let your mind wander to positive, happy thoughts while you massage in the oil. Take deep breaths—think of this as an extended form of meditation.
- When you’re done removing all the impurities, soak your washcloth in clean, warm water. It shouldn’t be so warm that it causes any pain but warm enough to open the pores.
- Hold the warm washcloth over your face until it cools. Once it’s cool, wipe away the impurities, rinse your washcloth, run it under warm water once more, and then hold it over your face again. Repeat this step 2-3 additional times to ensure you’ve cleaned away all impurities. [Note: Don’t scrub with the washcloth—this method is strong enough to leave your skin clean without force.]
- If your skin feels tight or dry after the treatment, wash your hands, rub a tiny amount of oil cleanser in your palm, and pat it on your skin. Massage it in so no residue is left behind.

Oil cleansing method best practices
When it comes to the oil cleansing method, there’s no standard frequency that works for everyone. Start performing the method and pay attention to how your skin responds. If you notice increased dryness or any other irregular skin conditions, reduce your frequency. Also, be patient as you wait for results. This method is effective, but it may take a few sessions before you see the results you desire.
For even more detailed resources, head to the Oil Cleansing Method, a skincare website devoted entirely to oil cleansing. The site offers several in-depth resources about oil cleansing, including DIY recipes, insider tips and tricks, and additional research.
Overall, the oil cleansing method is a natural, chemical-free way to treat persistent skin problems and safeguard your skin against future complications. Incorporate these simple steps into your skincare routine today to start seeing results tomorrow.


